This tutorial is a shorter version of Analysis preservation using Snakemake. It presents the basic features of Snakemake. If you're interested in the concept of Analysis Preservation and how to take advantage of Snakemake by setting a mulit-user, reproducible, portable and modular working environment, you might want to look at this tutorial or this index
Motivation
In counting experiments, analyses are performed to extract the pertinent informations from a data sample. The task is complex and usually lasts on an extended period of time. It involves many people organised in small groups. One frequent problem in data analysis is that after a certain amount of time reading some old scripts and codes becomes as hard as reading codes written by someone else. Reproducing the results obtained in the beginning of the analysis systematically took more time than it should. For this reason, we started using Snakemake.
Credit
On the idea of Luca Pescatore, we used Snakemake during my master thesis and it appeared to be a crucial tool. We therefore decided to write this tutorial to detail some of our techniques and we hope it will help to spread it among the physics community.
Index
- Snakemake and git: the perfect combination
- Requirements for the tutorial
- Installation on Linux (MacOSX)
- My first workflow
- See also
- Snakefile
Snakemake and git: the perfect combination
Snakemake is a workflow management system that helps you build pipelines between the scripts of your project. We call this concept analyis preservation and it offers several advantages:
- Memory: stores the architecture of the work and allows you to rapidly perform a complete or partial analysis.
- Portability: if built in a user-sensitive way, anyone working on the same analysis can obtain every results.
- Modularity: as a rule is only a path between an input and an output, if one method or technique used in the analysis needs to be updated or modified, it can be replaced by a new rule with the same output. It allows a parallel comparison of different techniques in a very simple way.
- Reproducibility: if you're analysing a data sample collected by the same experiment in different years of exploitation and you plan to analyse data samples not even collected yet, Snakemake is a simple solution to perform the same analysis to different data sets.
Requirements for the tutorial
For this tutorial, we assume you'll be working from a shell terminal and you have some basic notions of bash, a running python3 environment with the matplotlib library and a basic c++ compiler with c++11, e.g. g++.
Installation on Linux (MacOSX)
The easiest way to install Snakemake is via Conda. First make sure that you have the latest version of Miniconda installed.
If you're working on Linux, run the following commands in the terminal:
apt-get install wget
wget 'https://repo.continuum.io/miniconda/Miniconda3-latest-Linux-x86_64.sh'
chmod +x Miniconda3-latest-Linux-x86_64.sh
./Miniconda3-latest-Linux-x86_64.sh
If you're on MacOS:
curl https://repo.continuum.io/miniconda/Miniconda3-latest-MacOSX-x86_64.sh > Miniconda3-latest-MacOSX-x86_64.sh
chmod +x Miniconda3-latest-MacOSX-x86_64.sh
./Miniconda3-latest-MacOSX-x86_64.sh
Once you have the latest version of Miniconda, just run the following commands to download Snakemake and the various libraries required.
conda update conda
conda create -n snake -c bioconda python=3.4 snakemake beautiful-soup pyyaml
conda install -n snake -c https://conda.anaconda.org/conda-forge gitpython
conda install -n snake -c https://conda.anaconda.org/anaconda pytz
If everything went well, you should be able to activate and deactivate the Snakemake environment
source activate snake
source deactivate
My first workflow
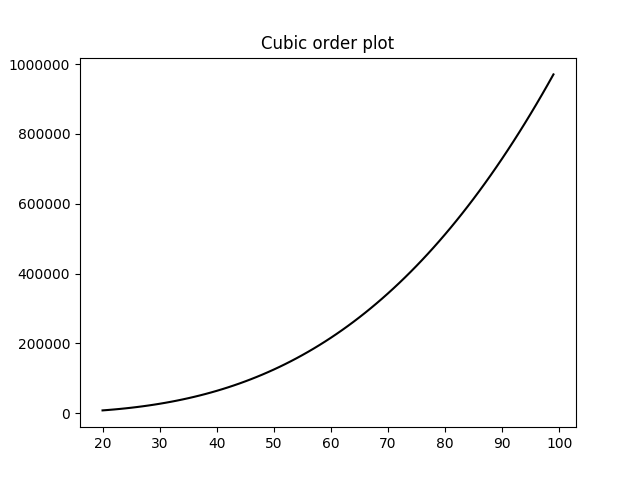
In order to make this tutorial slightly more interesting, we prepared a small project which allows you to plot four different modes completely from the terminal: Zero, Linear, Square and Cubic.
Download the full example from Github.
git clone https://github.com/mstamenk/snakemake-tutorial.git
Open two terminals and move to the root folder. From there,
source setup.sh snake # Snakemake executing environment
source setup.sh       # Interactive developing environment
The project uses the Snakefile to explicit the pipelines. The idea is simple :
- Compile the c++ executable
- Process it using python
- Plot it with python
Now from the Snakameke environment, you can run:
snakemake plot                                          # Using the default values stored in the config.yml
snakemake plot --config mode=Cubic start=20 end=100     # Specifying the different variables yourself
These commands will run the complete project by compiling the c++ executable and processing it. An explicit version of the Snakefile can be found at the end of this tutorial.
Snakefile
# Snakefile
configfile: "config.yml"

rule compile:
    input:
        script = 'cpp/src/produce.cpp'
    output:
        exe    = 'cpp/produce.out'
    shell:
        "echo 'g++ -std=c++11 {input.script} -o {output.exe}' &&"
        "g++ -std=c++11 {input.script} -o {output.exe}"

dataID = { 'Zero'   : 'Zero_forPlotting.dat',
           'Linear' : 'Linear_forPlotting.dat',
           'Square' : 'Square_forPlotting.dat',
           'Cubic'  : 'Cubic_forPlotting.dat',}

filename = dataID[config["mode"]]
plotname = filename.replace('.dat','.png')

rule process:
    input:
        exe =  'cpp/produce.out',
        script = 'python/process.py'
    output:
        dat =  expand('ressource/{name}',name=filename)
    shell:
        "python {input.script} --mode {config[mode]} --start {config[start]} --end {config[end]}"

rule plot:
    input:
        script = 'python/plot.py',
        dat = expand('ressource/{name}',name=filename)
    output:
        plot = expand('plots/{name}',name=plotname)
    shell:
        "python {input.script} --mode {config[mode]}"

rule clean:
    params:
        cpp = 'cpp',
        resource = 'resource',
        plots = 'plots'
    shell:
        "rm {params.cpp}/*.out && rm {params.resource}/*.dat && rm {params.plots}/*"
See also
If you're interested in the following points:
- Use scripts written in python2 with Snakemake: the Snakemake environment works with python3, with an appropriate bash script, this is something you can override.
- Build your project in a user-sensitive way in order to collaborate: combined with git, you might want to define your project in a user-sensitive way so it's easier to share it among the persons involved in the project
- Reproducibility of your project and be able to run the full analysis on a different dataset by changing a single line
- Snakefile syntax file for vi/vim.
You can find a detailed tutorial for data analysts here.
Conclusion
I hope this tutorial was useful, if you have any comments you can let me now: stamenkovim@gmail.com or Twitter. Thanks!